
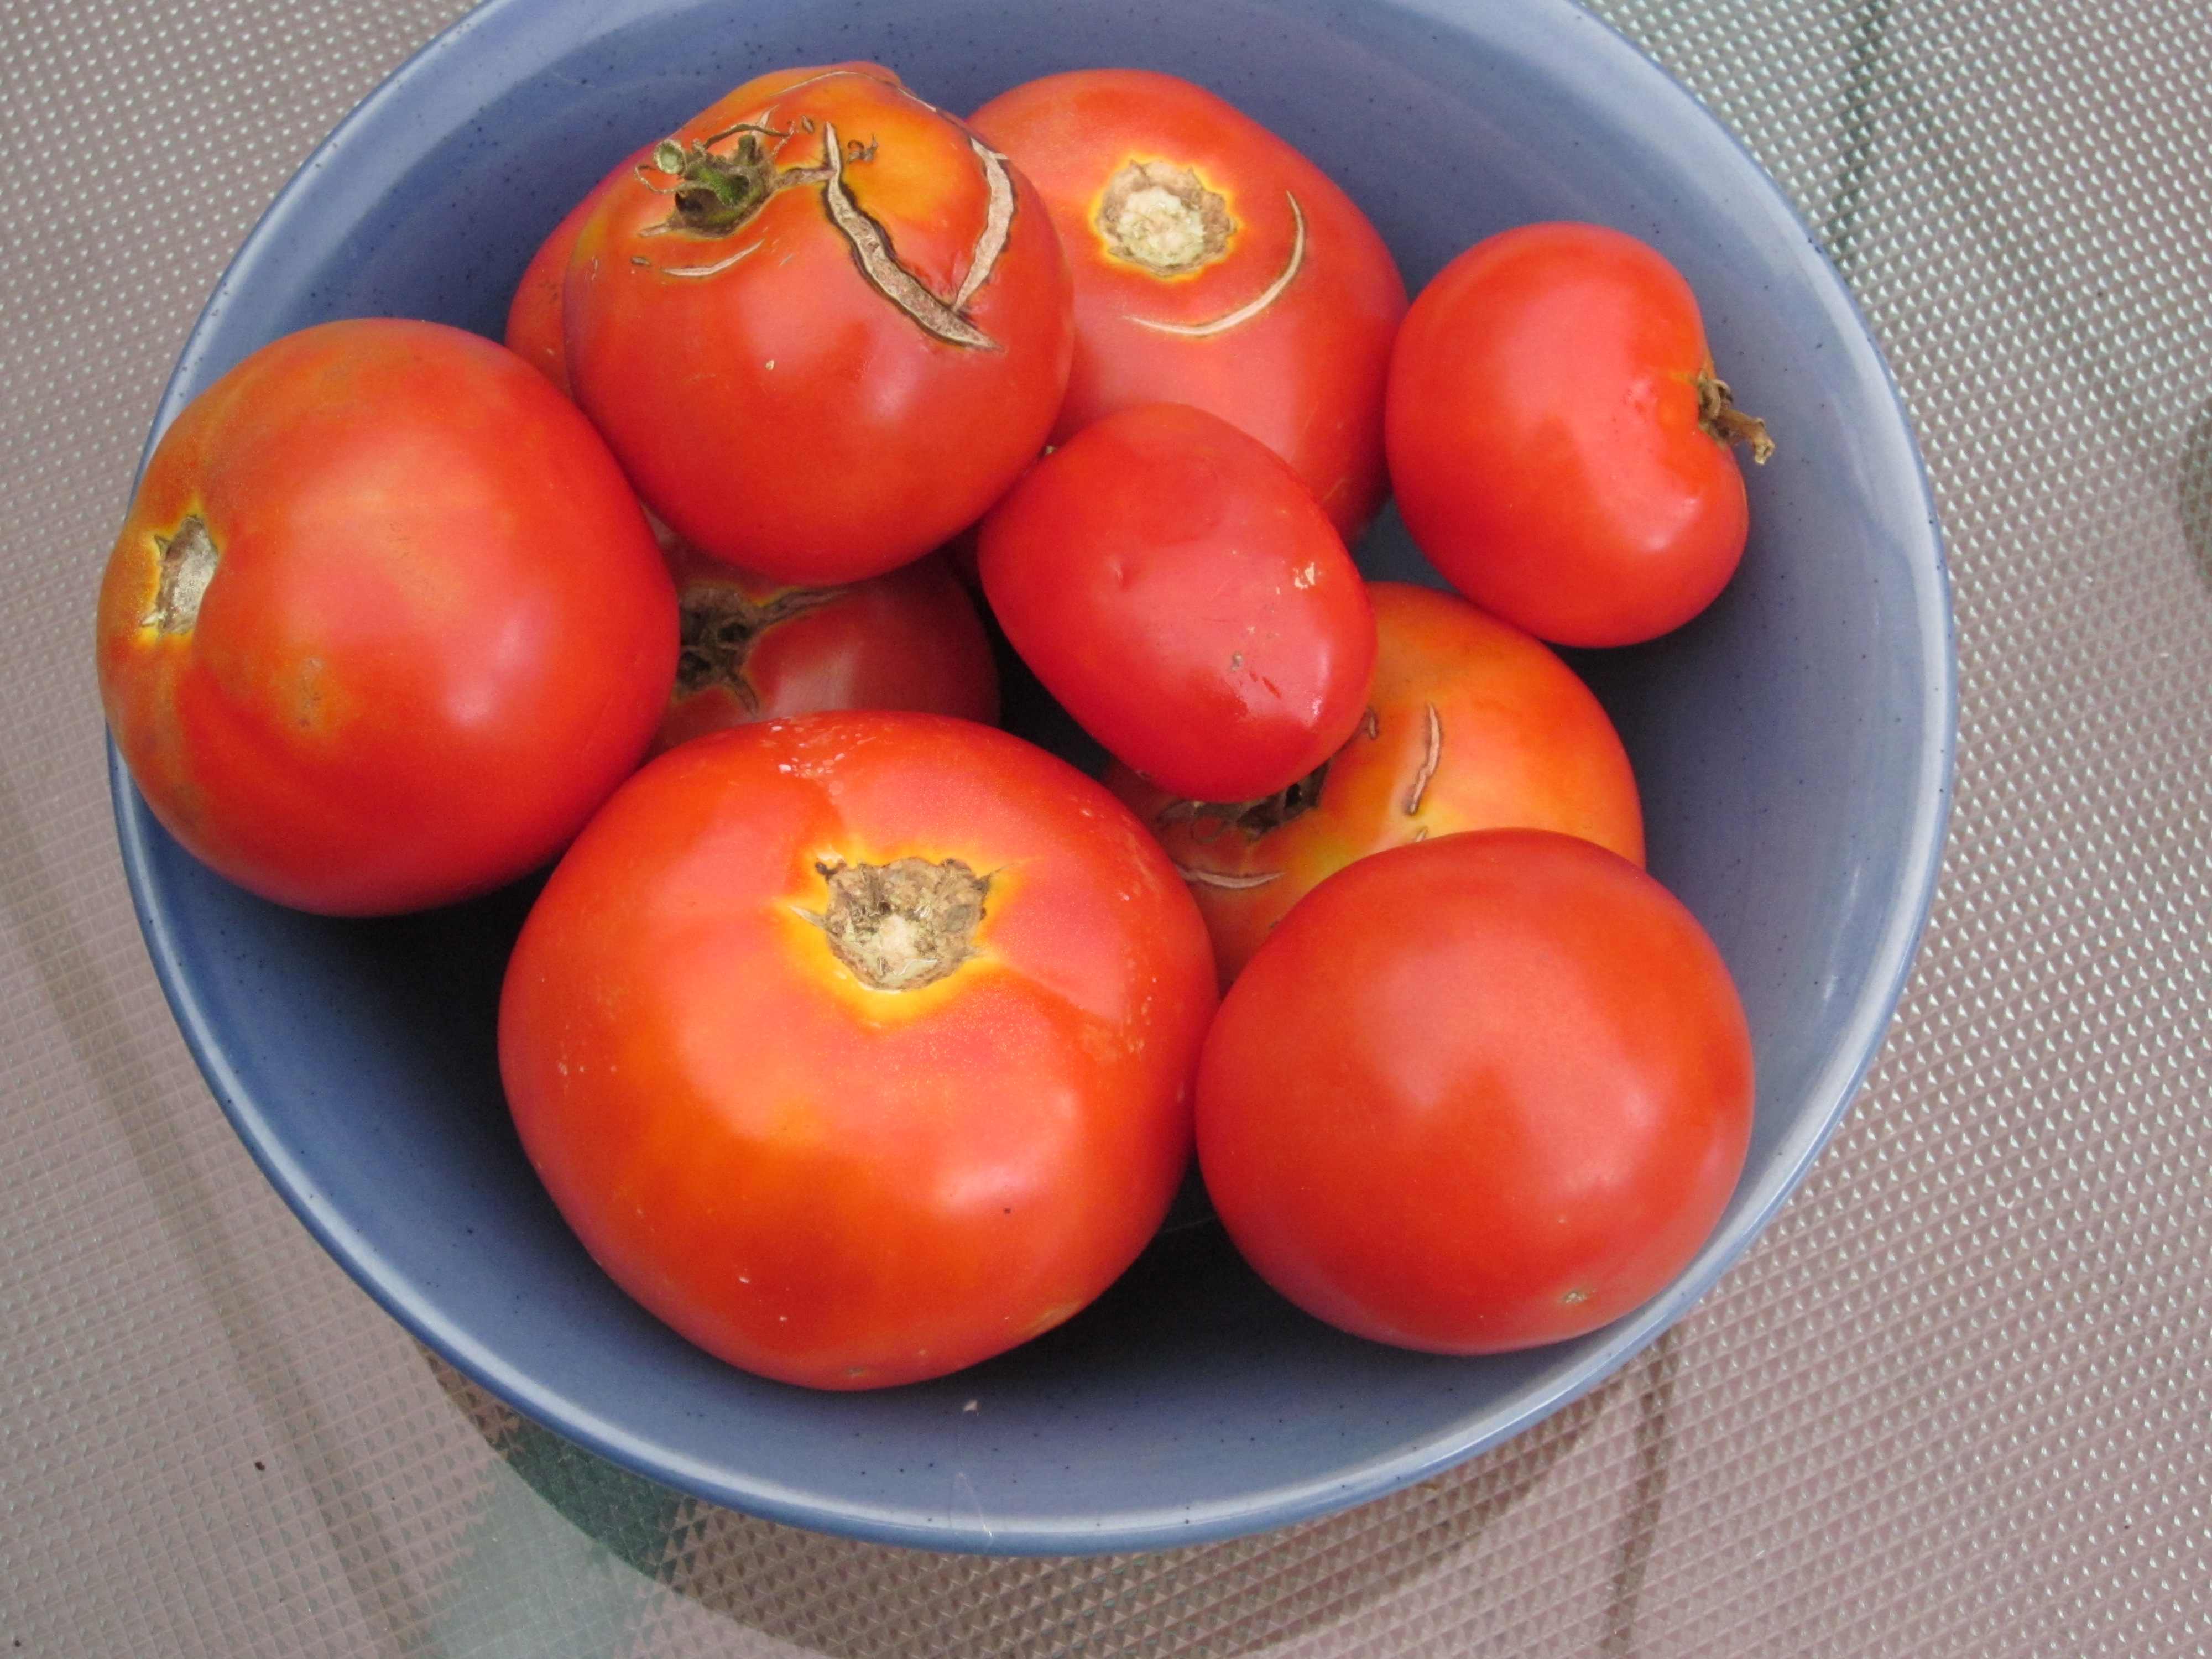
The growing season on our terrace was an uneven one. Most of the spring was very cool and wet. By the end of June and early July we entered a brief period of extreme heat followed by an abnormally cool late summer concluding with a warm, dry early fall. The tomatoes didn’t fare so well, but the chili peppers were abundant and as of this writing continue to thrive.
Last year I grew “Portugal Hots,” and “Fresno,” peppers. They too were prolific and, as chronicled in these pages, I used the excess to make pepper sauces. See A Pair of Pepper Sauces.
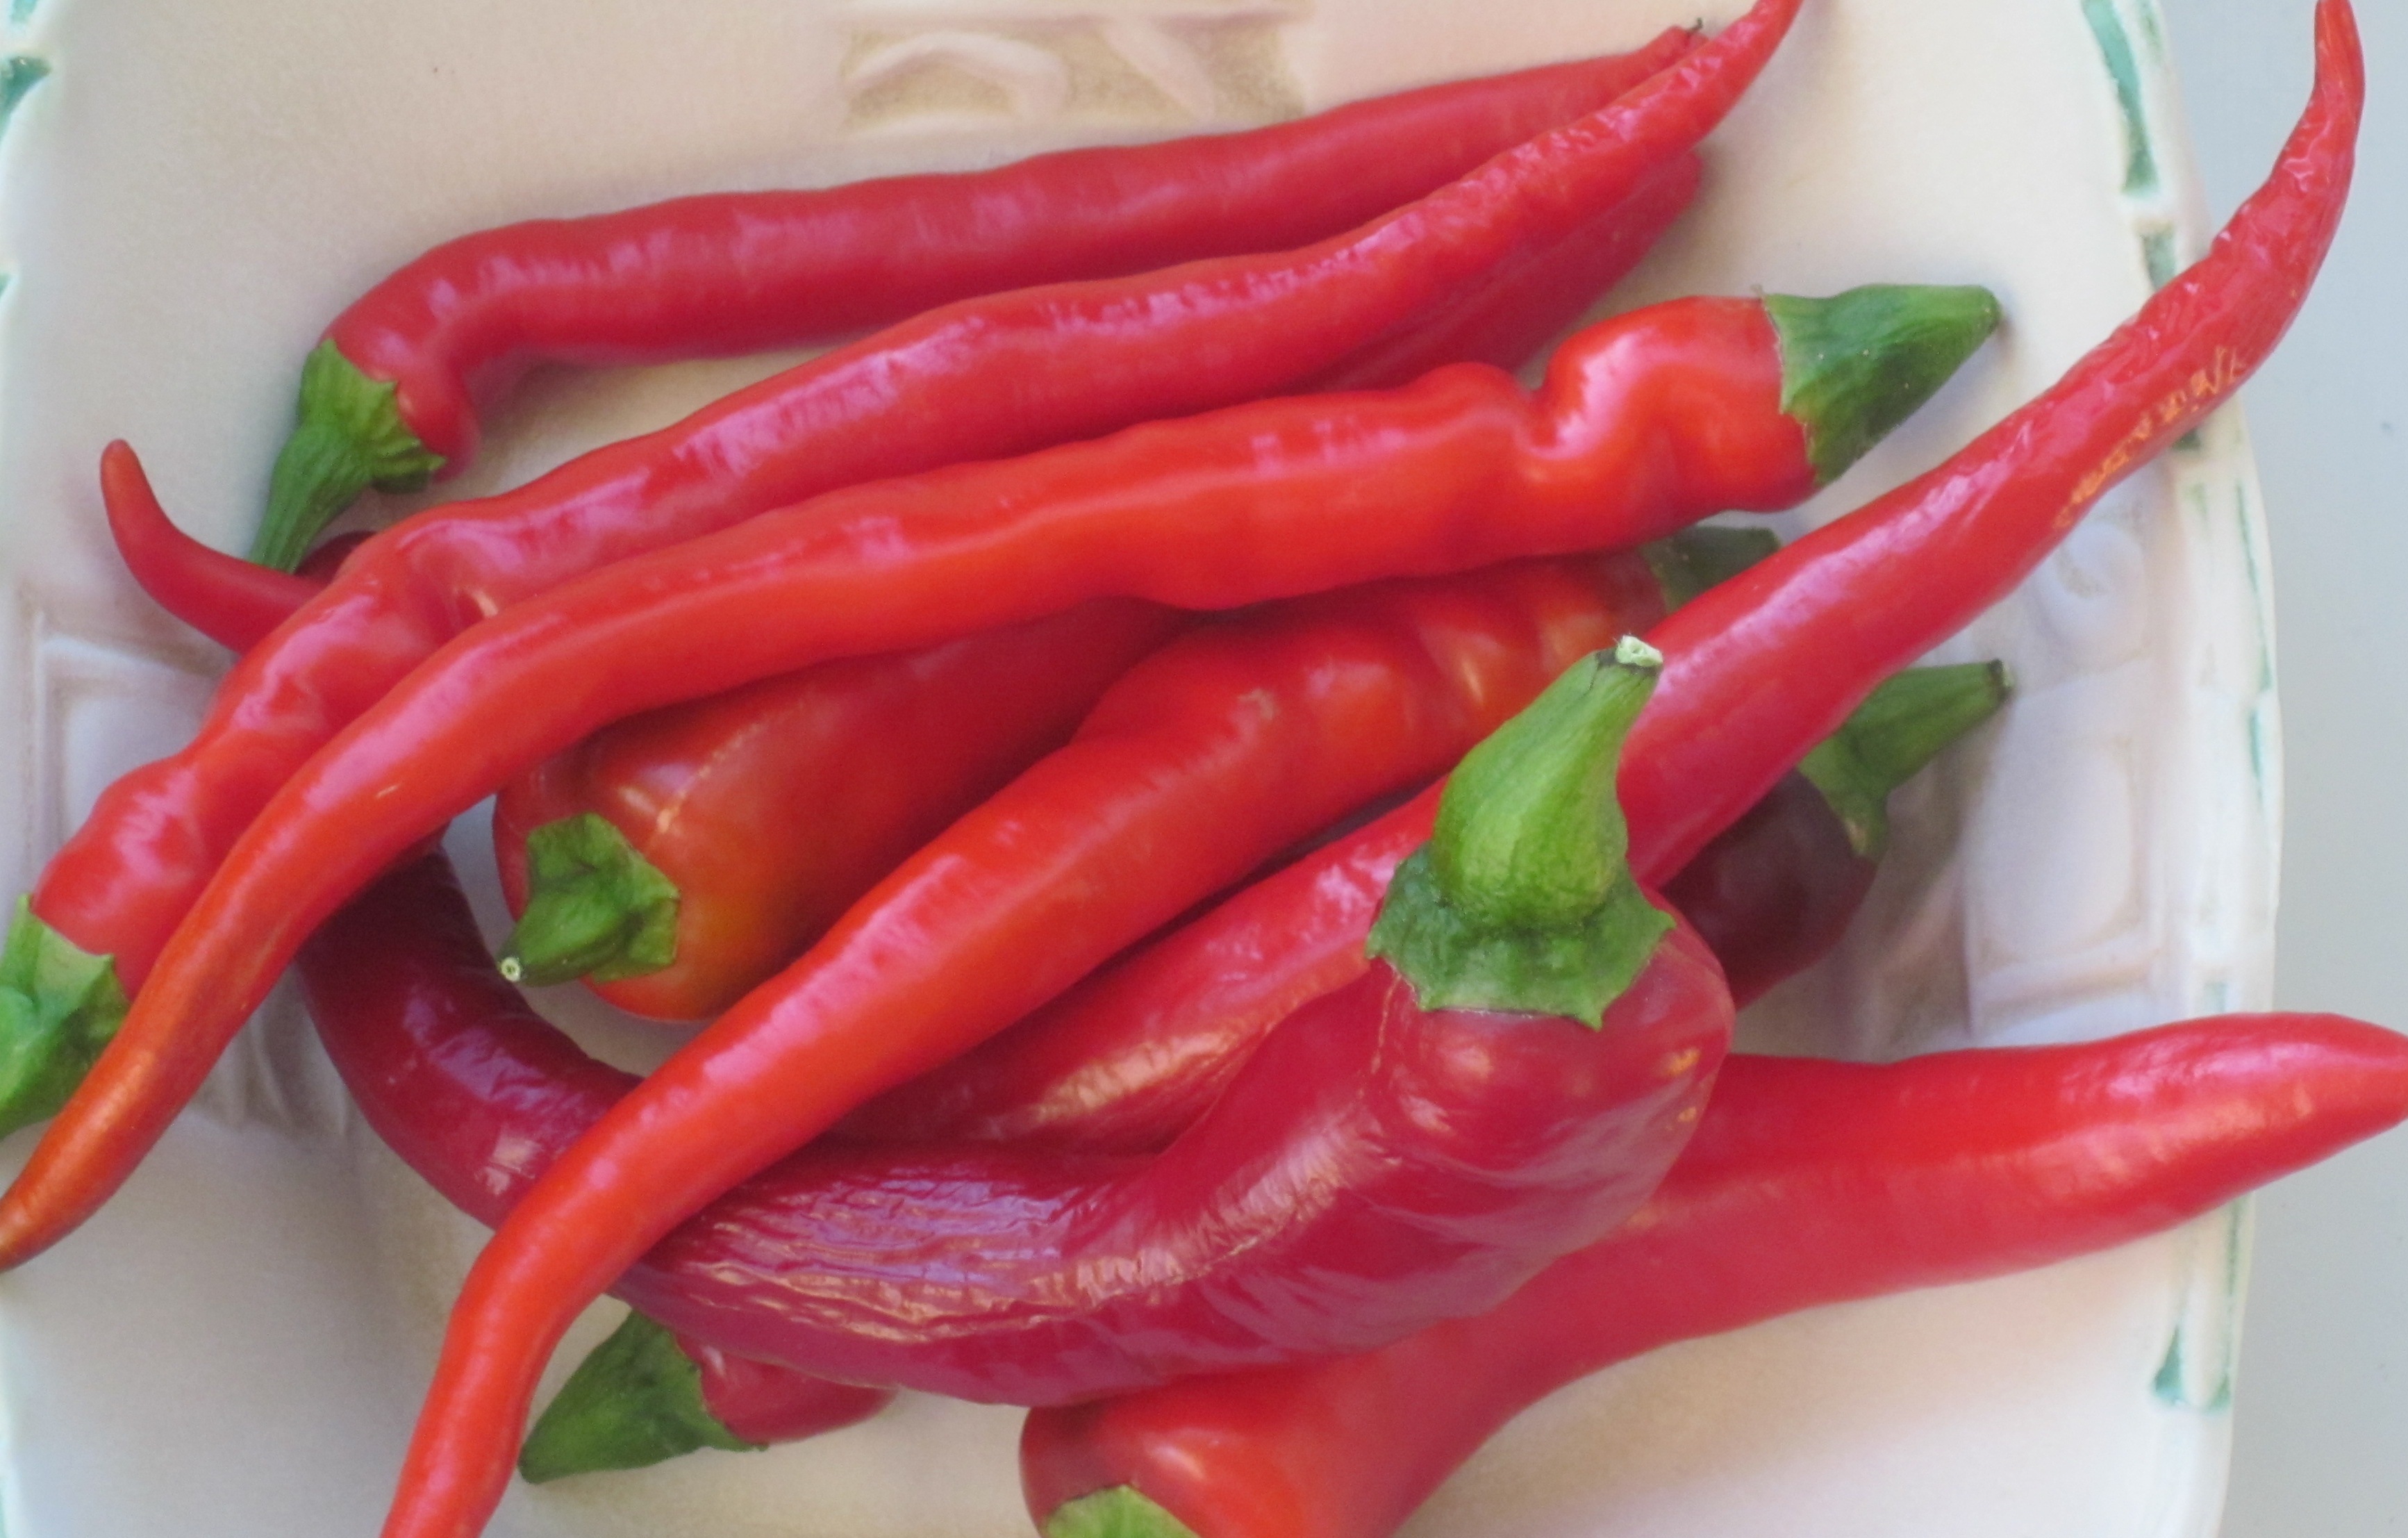
This year I mixed it up a little planting hot cherry peppers and cayenne’s. As always, I freeze most of the crop and use them when needed; adding the peppers to soups, sauces, Asian or Indian stir fried dishes or anything else I’m cooking that could use a spice kick. But there is always much more than I will need to last a year. So what to do with the excess?
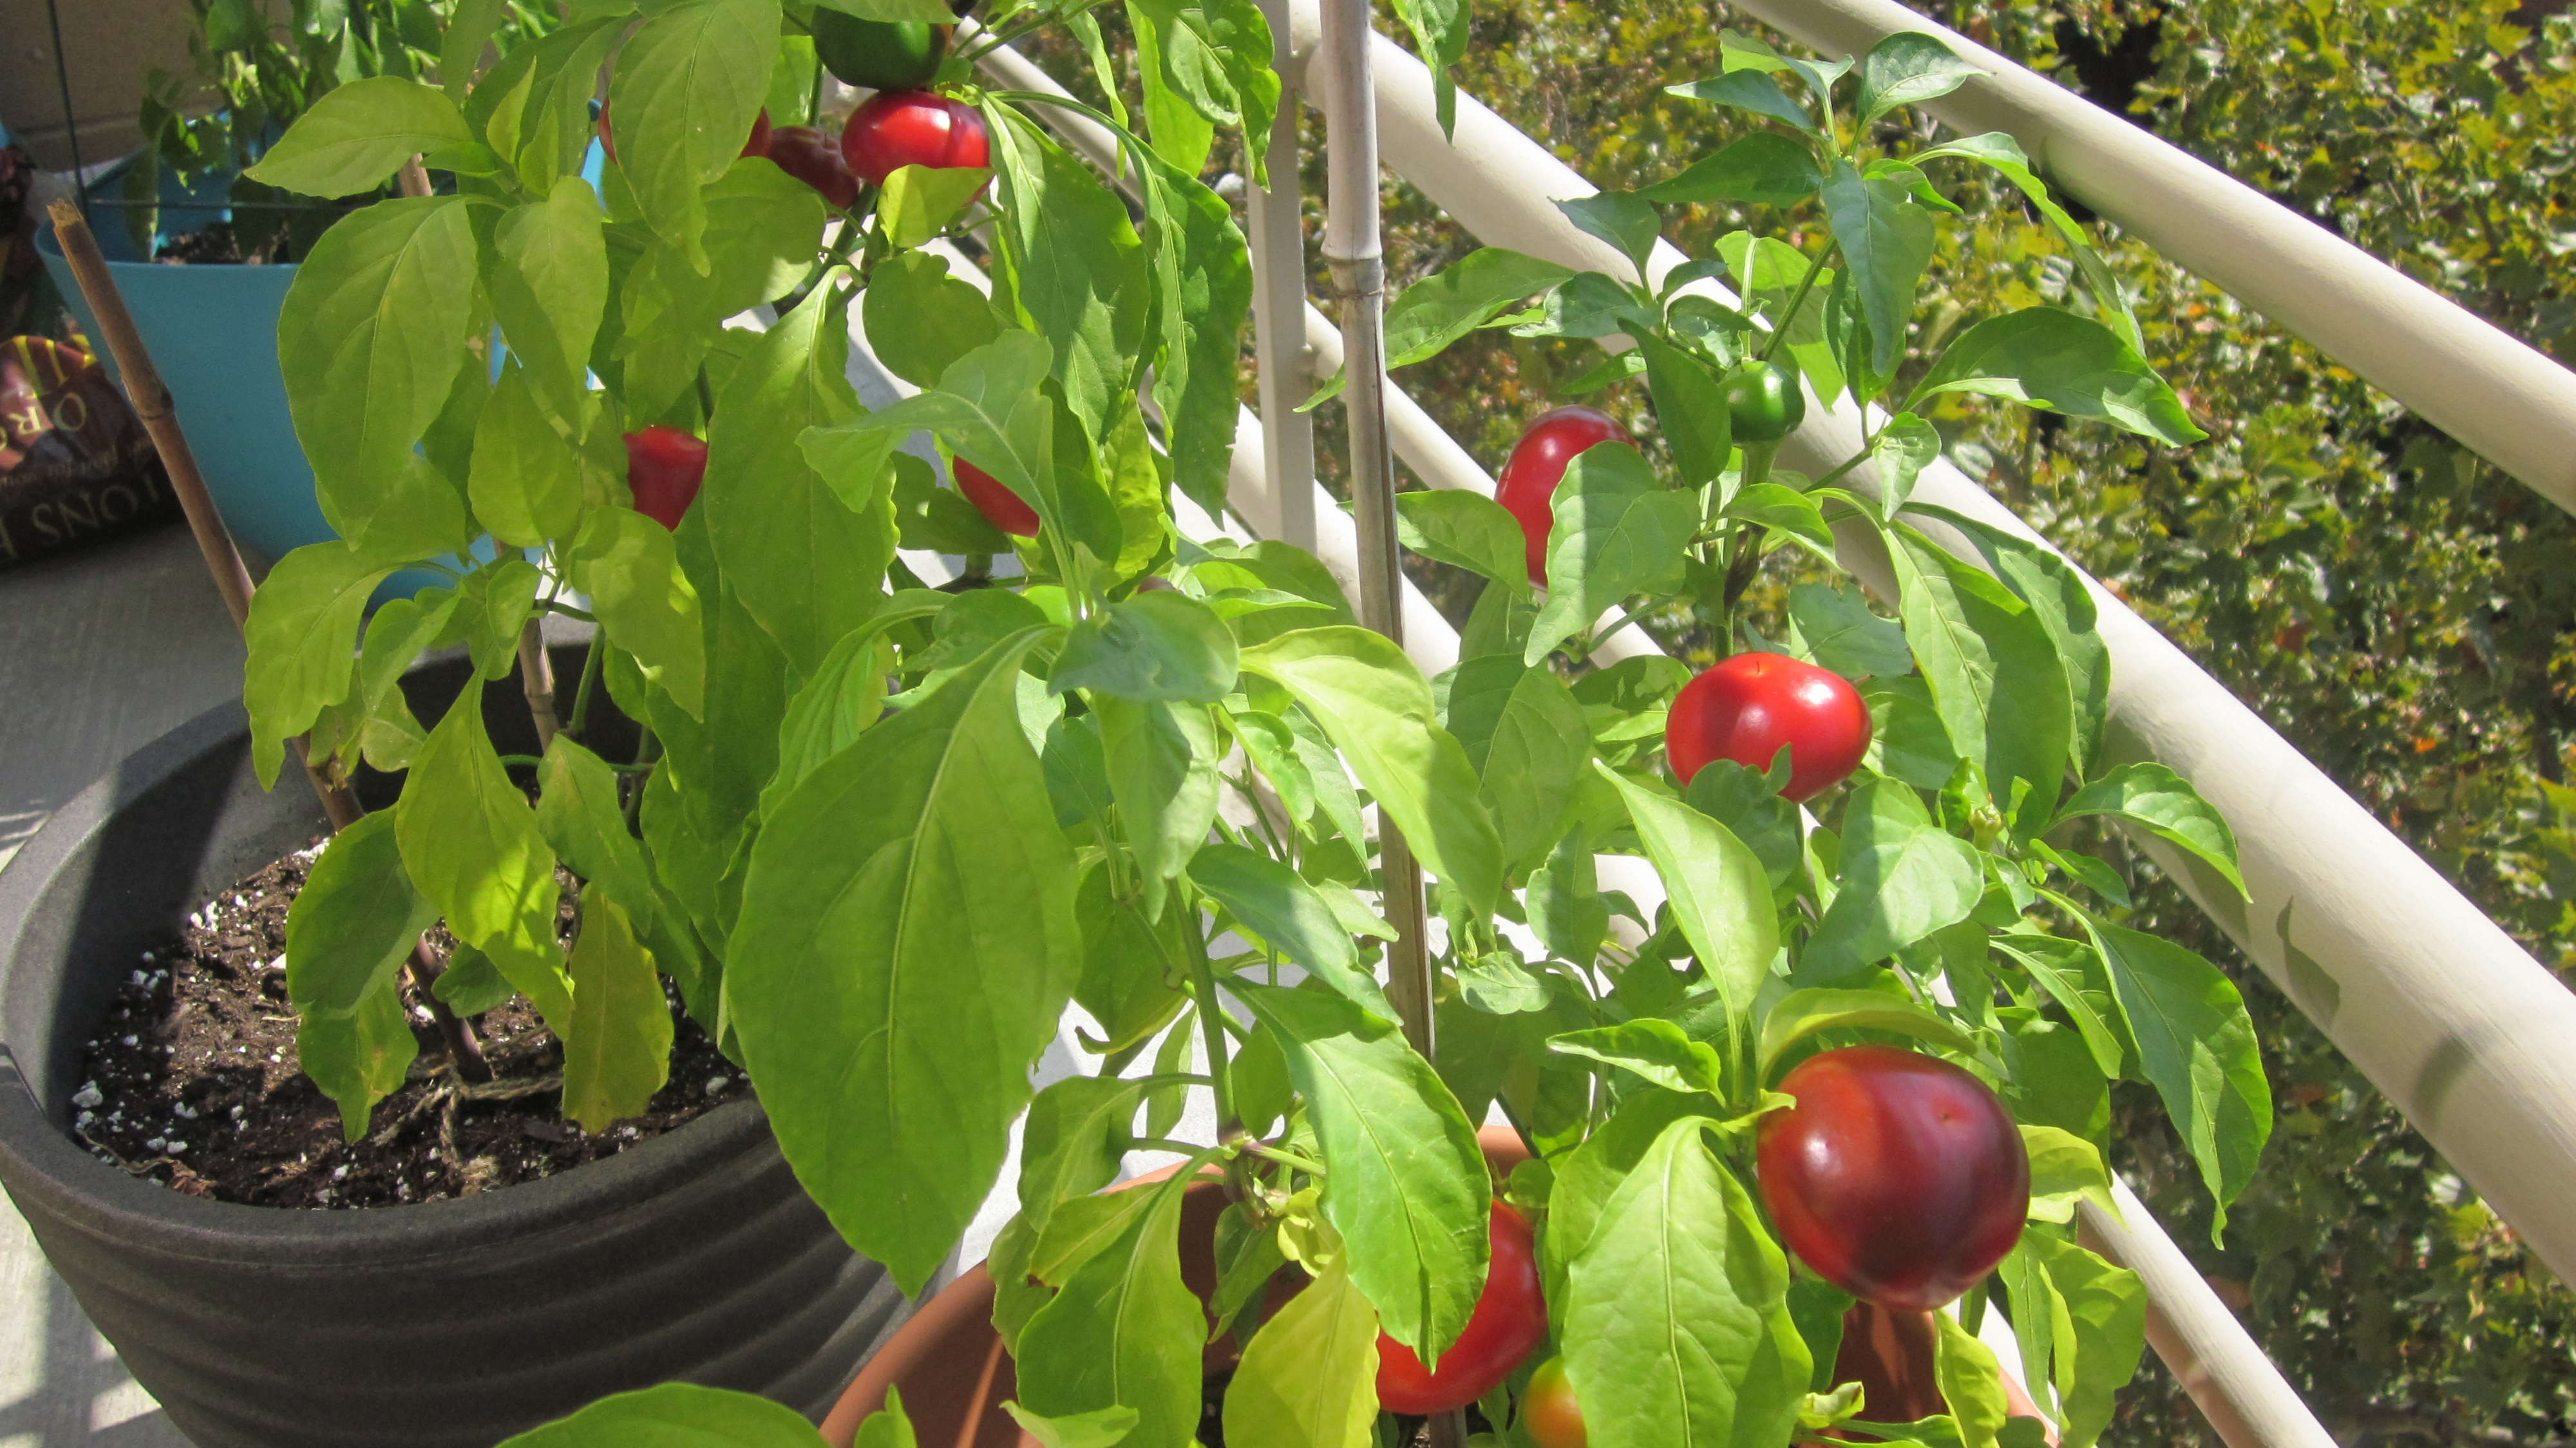
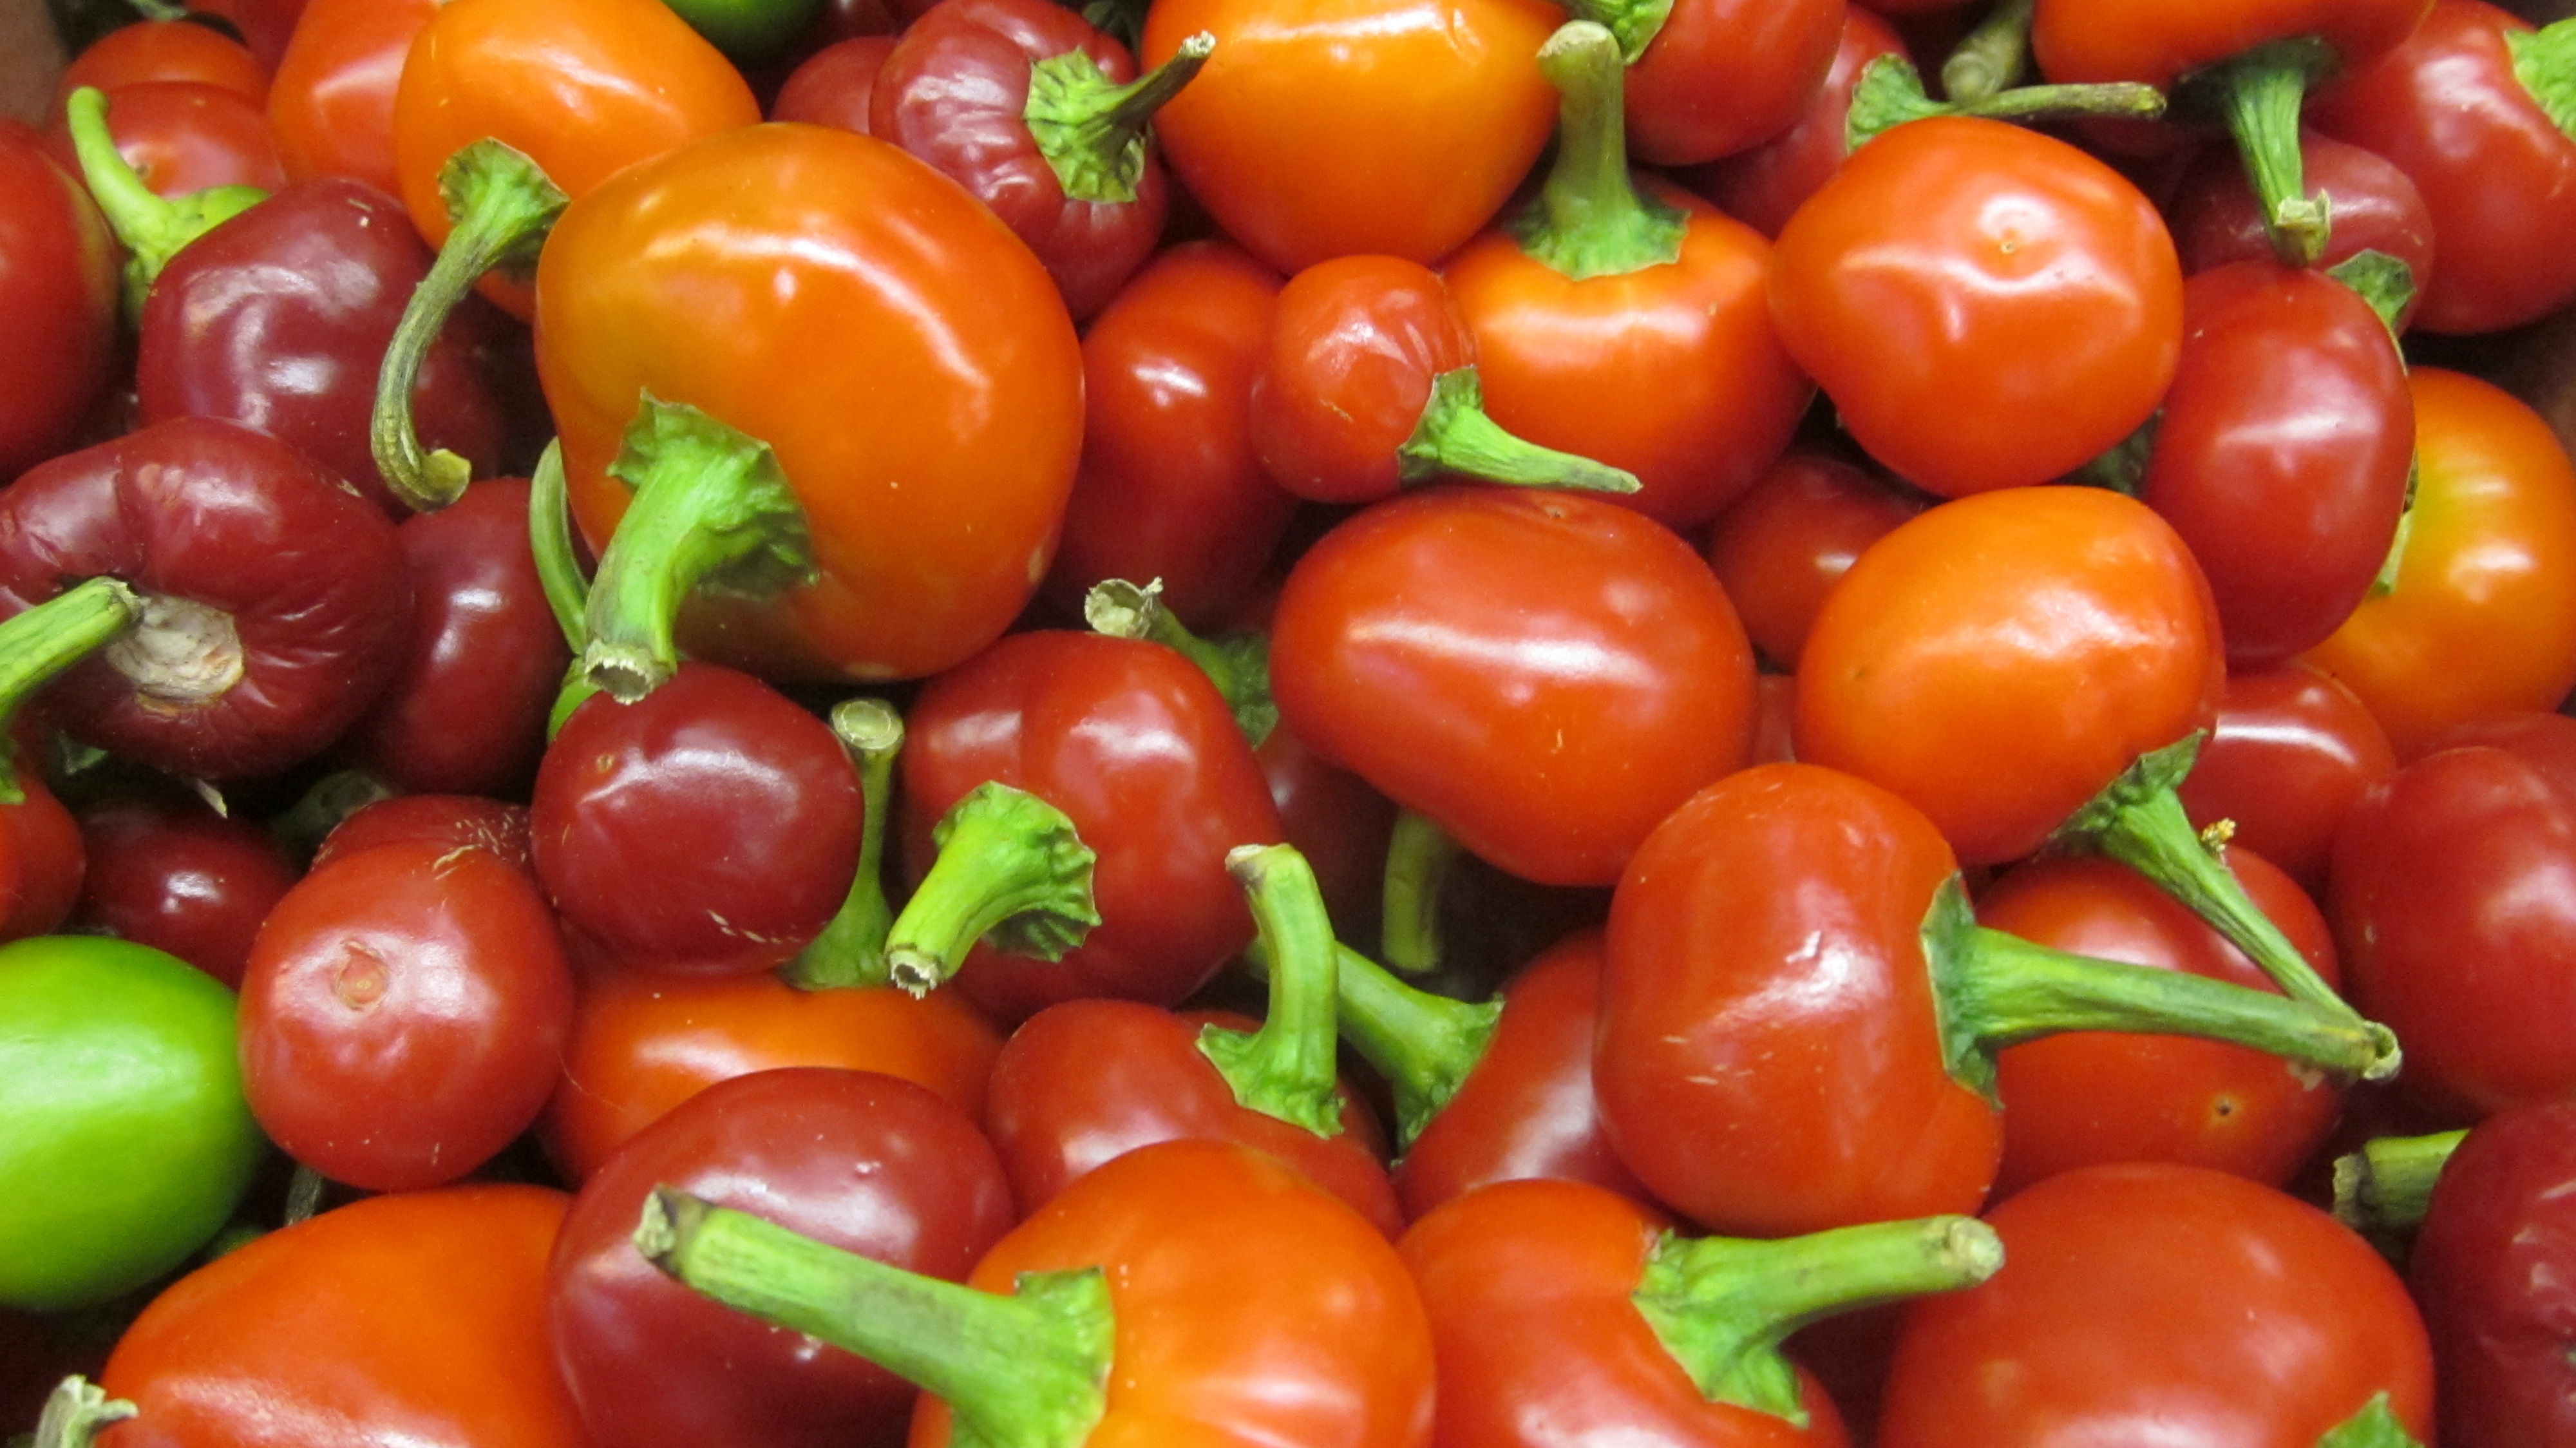
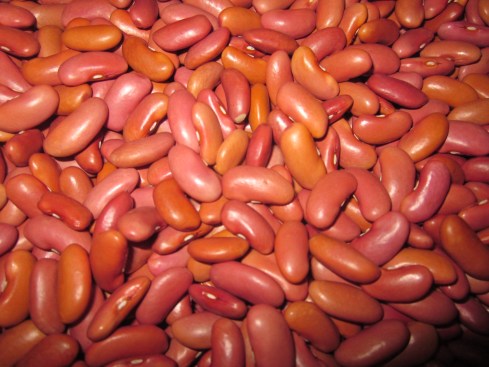
Some of the cherry pepper crop.
This year I decided to pickle the peppers. There is nothing like a few slices of hot vinegar cherry peppers on an Italian hero or chopped into an antipasto or baccala salad, so instead of buying a store brand, I figured with all I had, I could make my own.
I deliberated over what then to do with the cayenne peppers. I was very tempted just to make another pepper sauce, maybe something very much like Tabasco, which uses cayenne peppers. Instead I took a much easier path deciding to chop up the fiery red peppers, squeeze them into decorative jars, add hot white vinegar and let the vinegar infuse in the spice of the chilies.
My estimation is that after two weeks, I’ll be able to sprinkle the vinegar on collard greens, Swiss chard, rice and beans or anything else that might welcome the combination flavors of hot and sour. Check back with me later on that prognosis.
Here are the very simple recipes for both.
Pickled hot cherry peppers
1lb of red cherry peppers
2 cloves of peeled garlic
2 bay leaves
20 black peppercorns
2 cups of white vinegar
¼ cup of water
1 tablespoon of sugar
½ teaspoon of salt
Add the vinegar, water, sugar and salt to a saucepan and bring to a boil.
In the meantime, make a few incisions near the stem of the cherry peppers.
Make sure the jars and tops are sterilized by boiling them or putting them in the dishwasher.
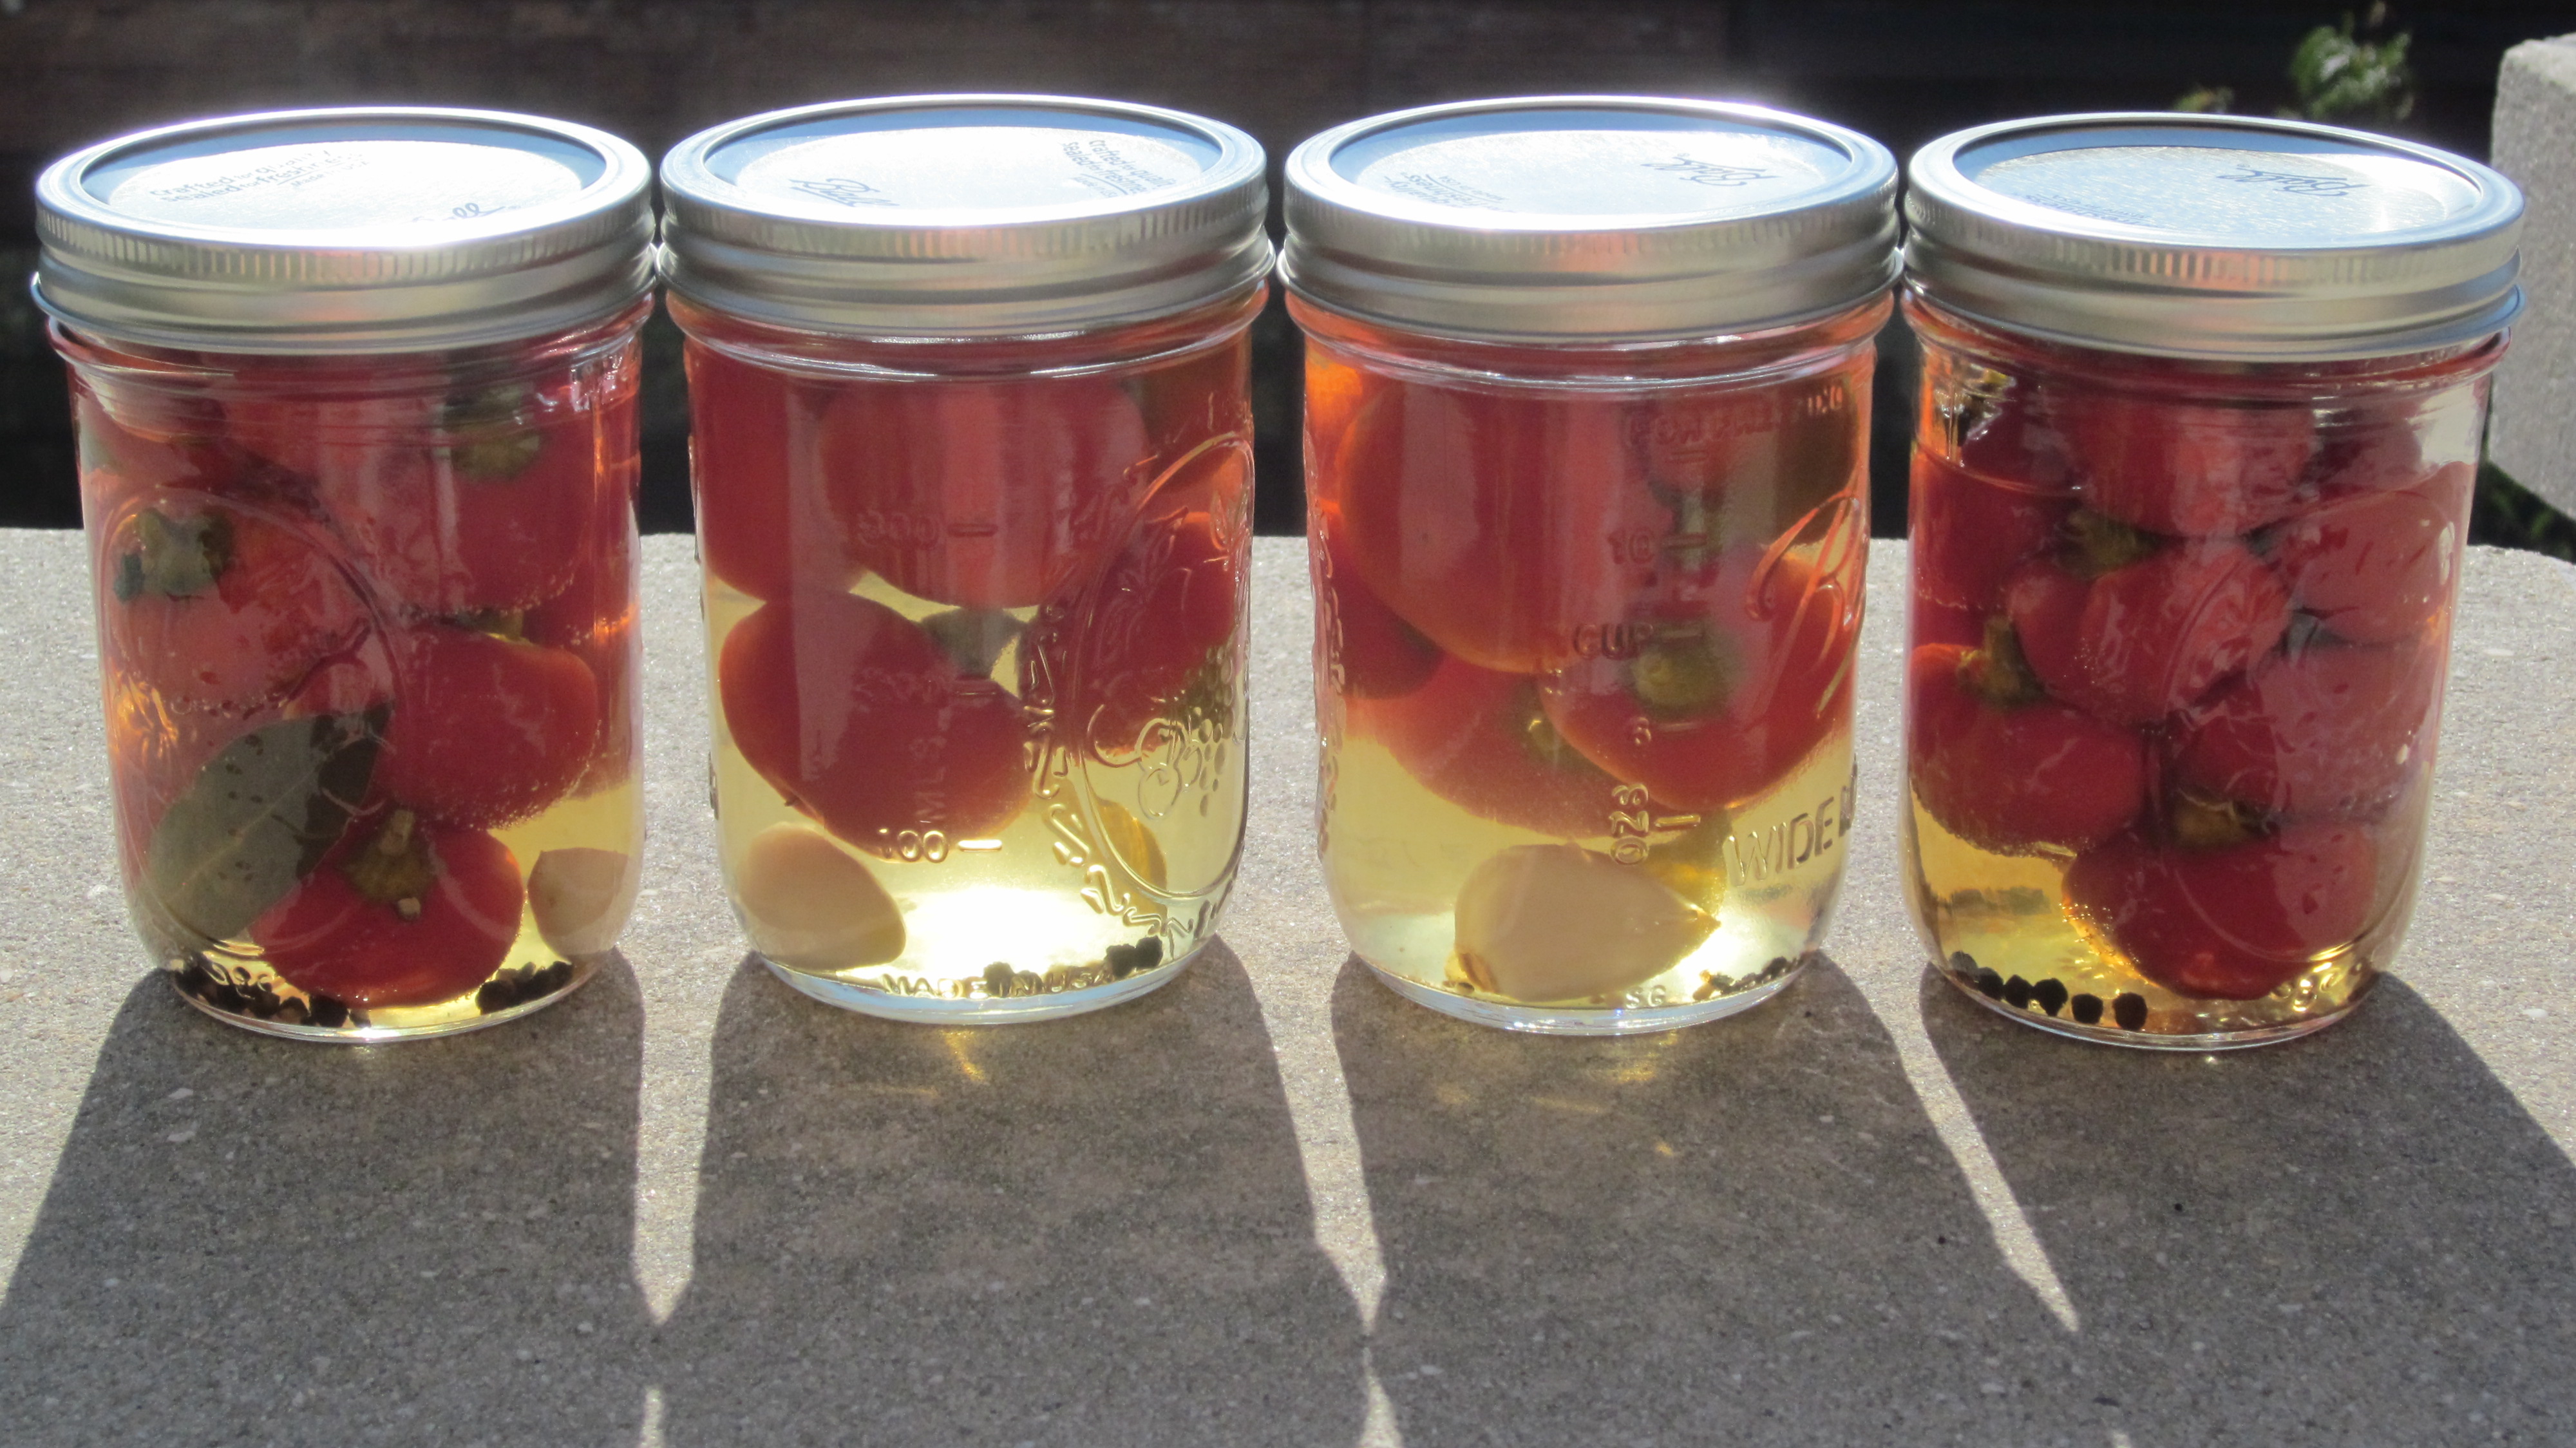
In each jar (how many you use depends on the size of your jars) add one whole peeled clove of garlic, a bay leaf and a bunch of the peppercorns.
Stuff in the cherry peppers tightly.

When the brine has boiled and the sugar and salt has dissolved, pour the liquid into the jars covering the cherry peppers leaving about ¼ inch of the jar empty.
Seal the jars tightly.
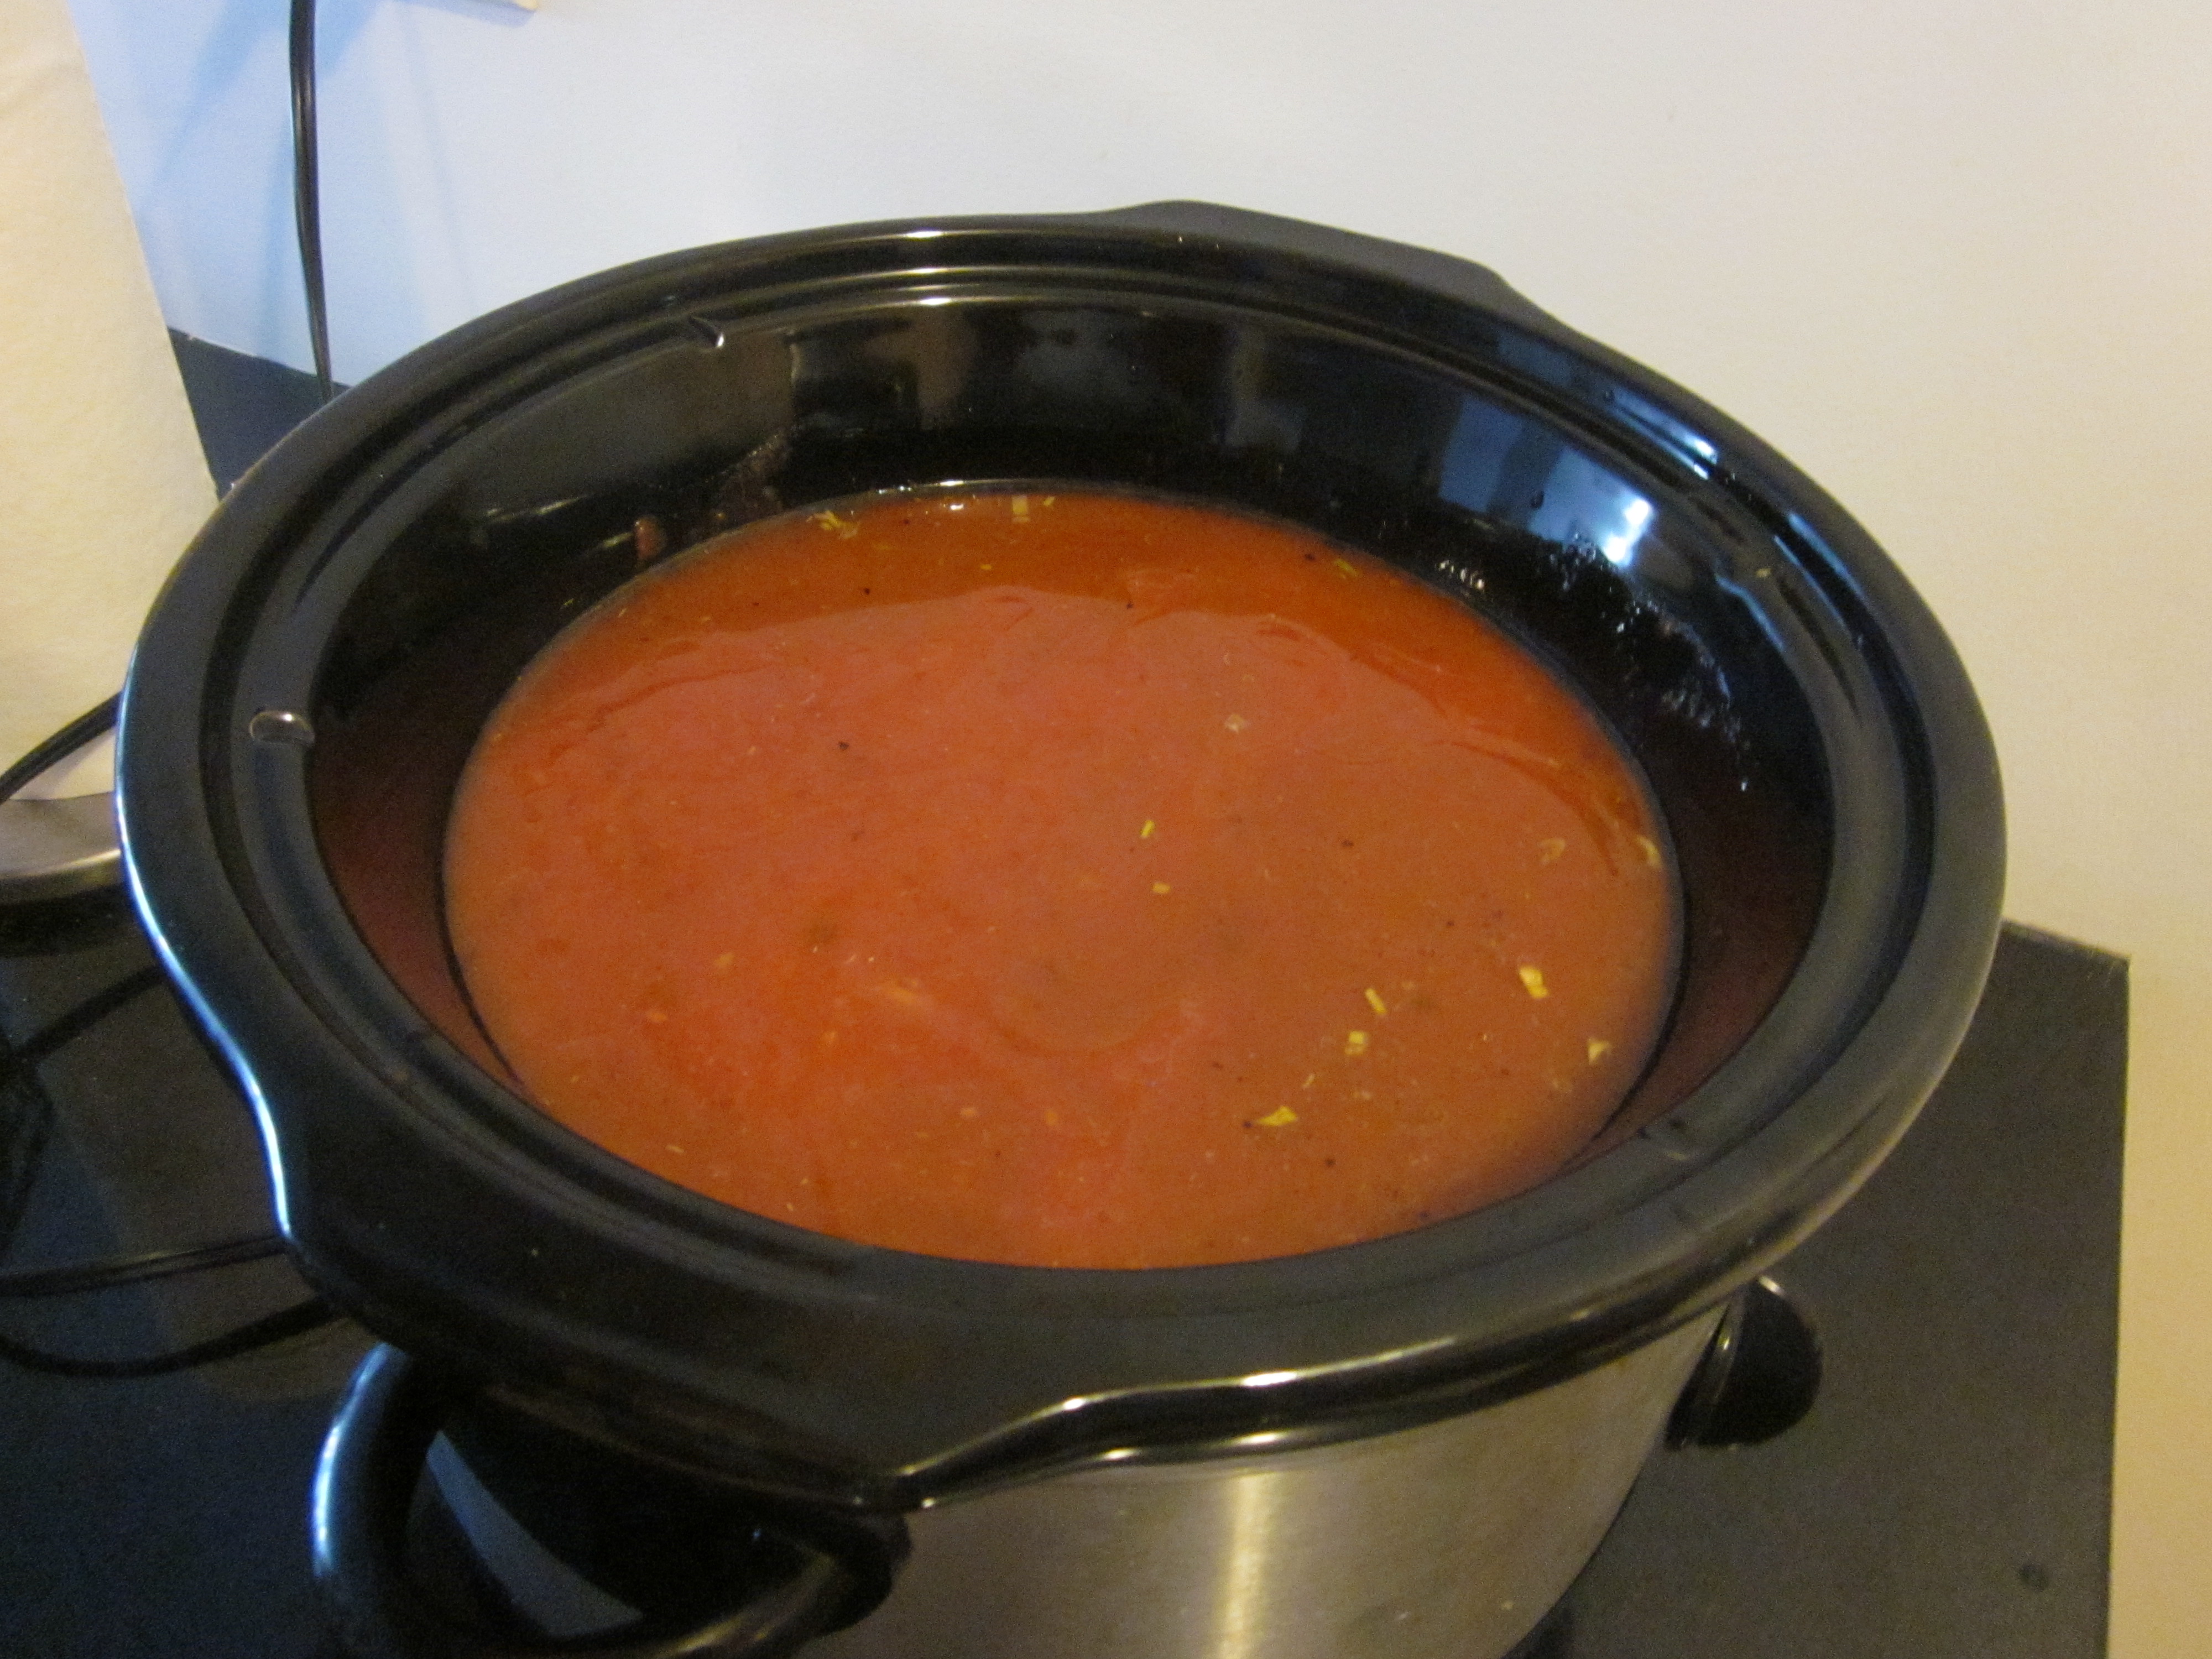
Can in a water bath for about 15 minutes.*
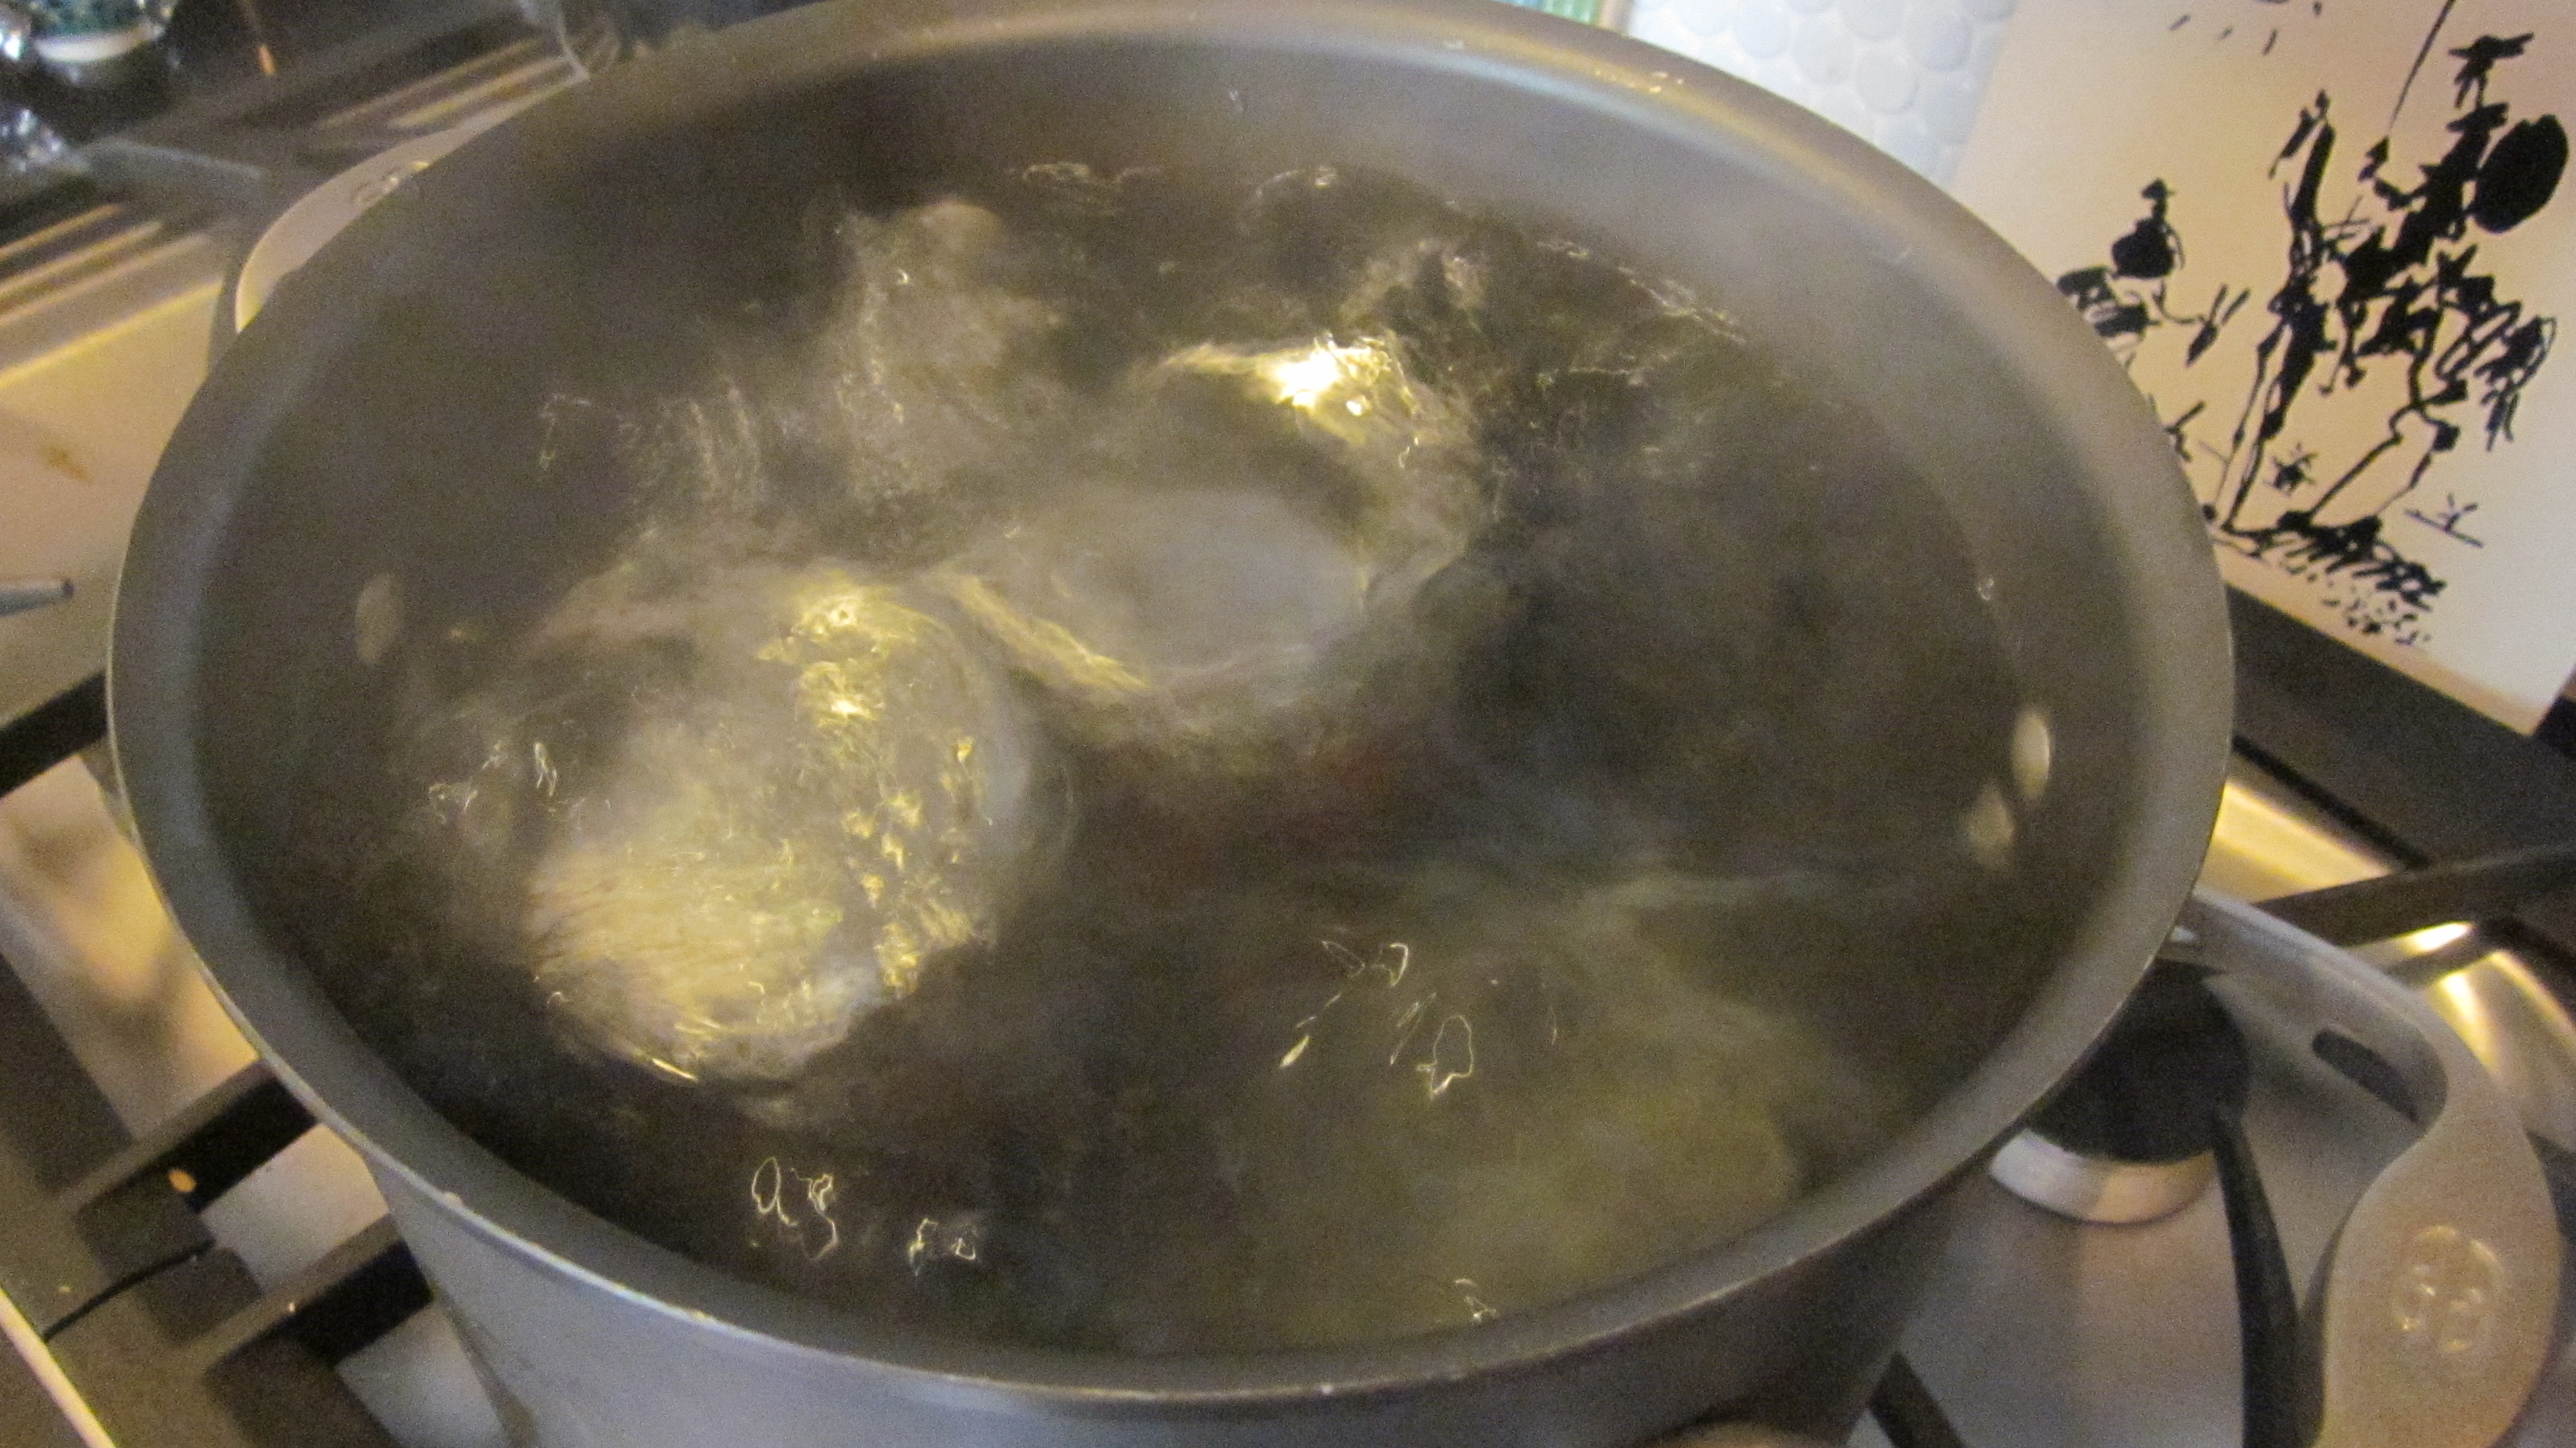
A cherry pepper water bath.
Remove the jars and if you hear that pop signifying that the jar has been vacuumed-sealed or you see that the lid is slightly indented, chances are very good that your pickled cherry tomatoes are properly sealed.
*I had never done the water bath thing before. I have always been wary of improperly sealing the jars thus imperiling my loved ones with contaminated food. This time I took a chance and all the signs seem to indicate that the canning was successful. Again, check back with me later on that.
Cayenne Pepper Vinegar
Cayenne peppers
White vinegar
Chop up the peppers, making sure to use gloves before handling them.
Bring the vinegar to a boil. How much you use depends on how many peppers you have, and how big or also how many jars you intend to make.
Stuff the chopped peppers into your jars. I used a decorative salad oil/vinegar receptacle.
Using a funnel, unless the top of your jar is wide enough, pour the hot vinegar over the peppers leaving ¼ inch of space from the top.
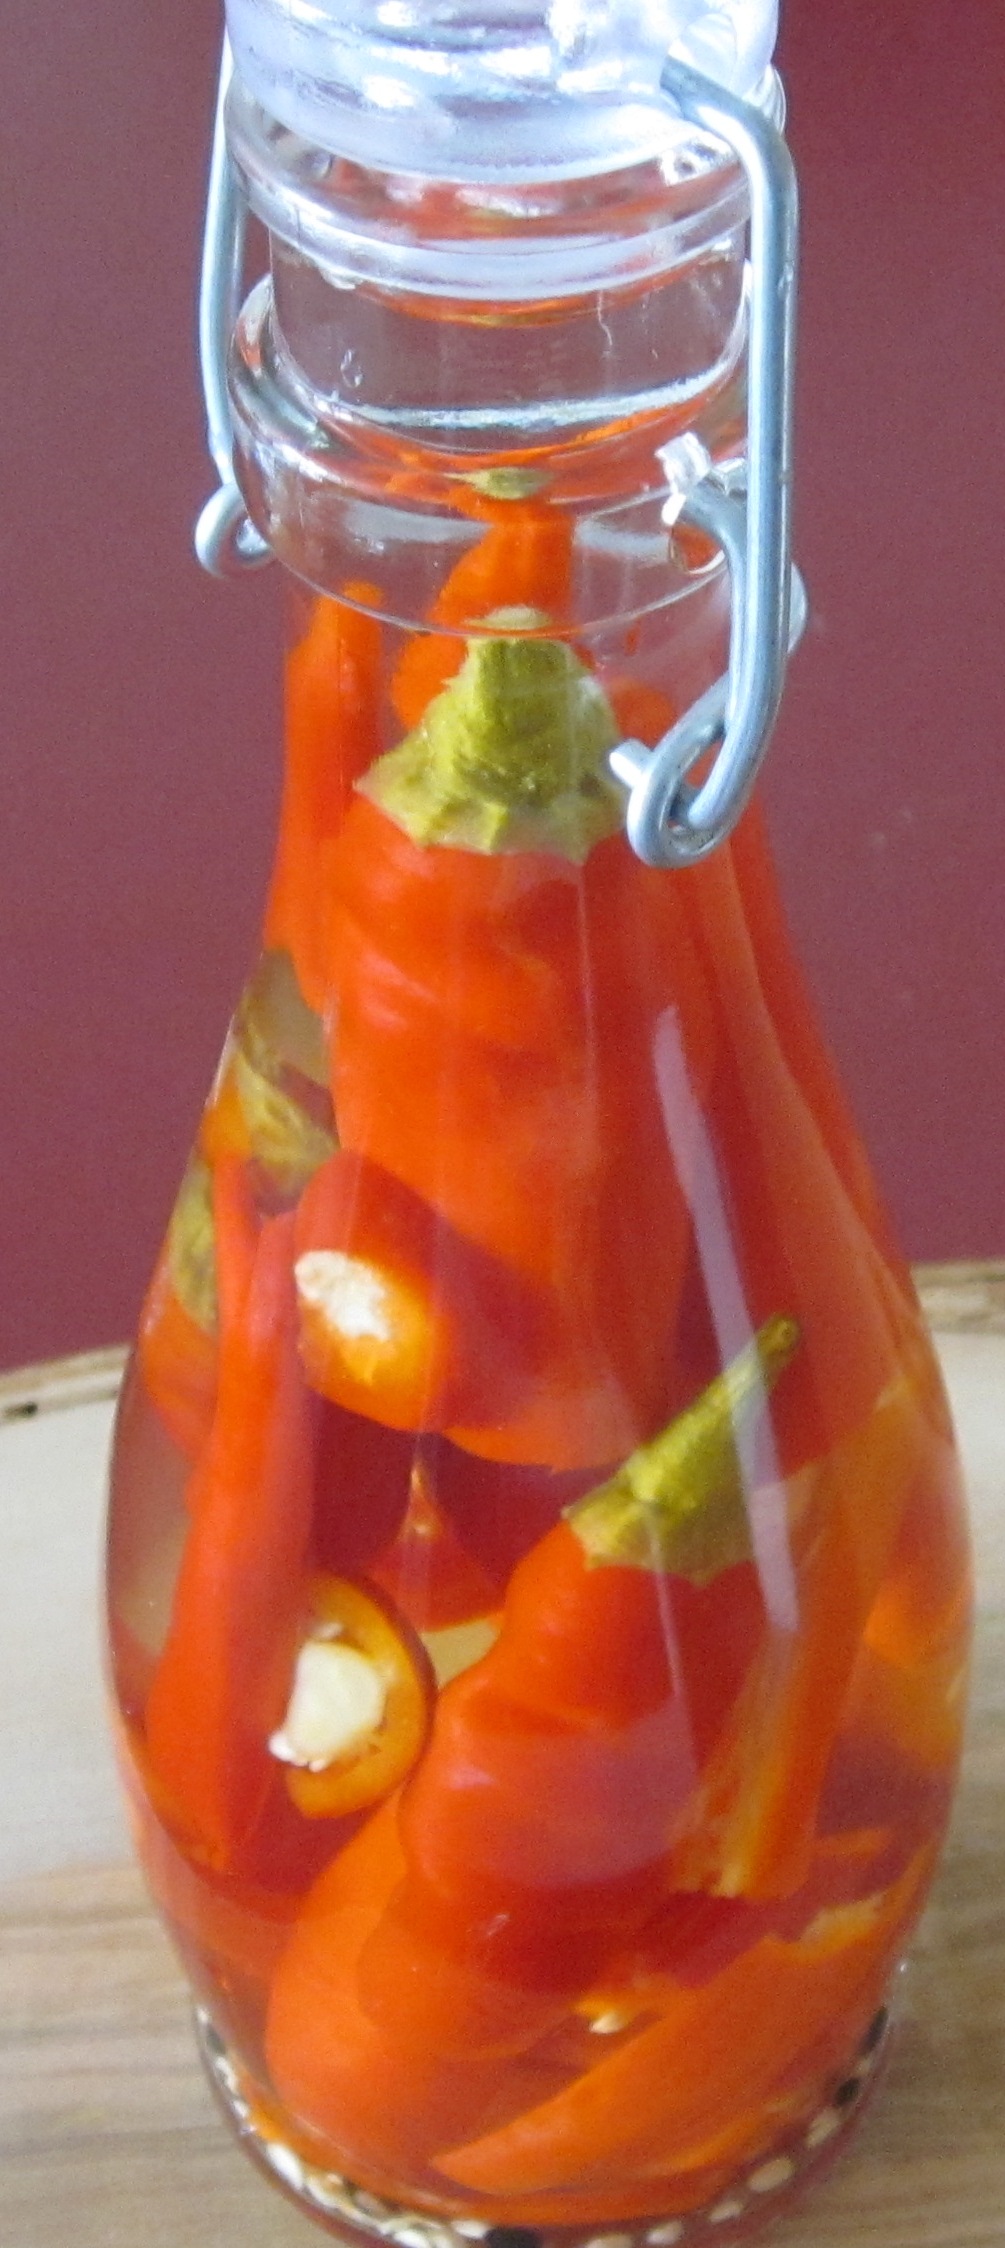
Put the top on and store in a cool dry place for at least two weeks before using.
Because you’ve made vinegar, a natural preservative, there is no need to seal these jars. The vinegar should last months, if not years, but you will probably finish it before you’ll have to worry about such things.


")


")


")
")


